Your home is a sanctuary, a long-term investment, and the physical shield protecting your family from rain, wind, hail, and extreme temperatures. Yet, day after day, raw weather relentlessly attacks the building envelope—that crucial outer shell composed of your roof, siding, chimney, windows, and foundation.
Small, unaddressed exterior defects can quietly evolve into catastrophic interior failures. A single compromised shingle or a tiny hairline crack in the foundation might seem minor during a gentle spring drizzle, but under continuous exposure, water will find a way in. Once moisture penetrates your exterior barrier, it quickly rots structural framing, ruins insulation, destroys drywall, and fosters mold growth that jeopardizes indoor air quality.
This comprehensive checklist breaks down your home’s outer defenses zone by zone, offering actionable steps to keep your property dry, structurally sound, and beautiful year-round.
1. Roof Inspection and Maintenance Fundamentals
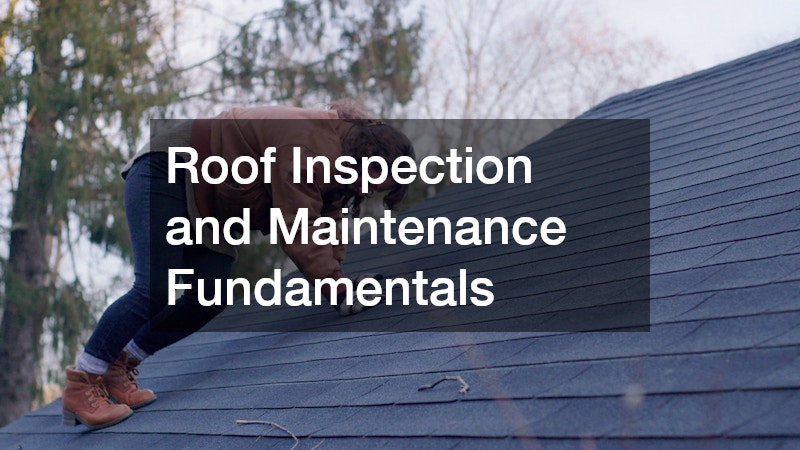
Your roof is your property’s primary line of defense against atmospheric elements. It endures direct ultraviolet light, pounding rains, heavy snow loads, and wind-driven debris. Over time, these environmental stressors degrade even the highest-quality materials, making regular roof checks essential.
When inspecting asphalt shingle systems, examine the surface for signs of advanced wear. Look for curling, cupping, or clawing edges on individual shingles, which indicate that the material has lost its flexibility. Check your gutters for an accumulation of dark granules; heavy granule loss leaves the underlying asphalt substrate exposed to UV light, accelerating deterioration. Pay special attention to valley areas where two roof slopes meet, as these channels handle the highest volume of water runoff and are prone to premature wear.
For homes outfitted with standing seam or corrugated metal systems, inspection routines shift toward fasteners and surface coatings. It is wise to partner with an experienced metal roof contractor who understands thermal expansion and contraction dynamics. Metal panels naturally expand during warm daylight hours and contract at night.
When specialized panel repairs, seam tightening, or panel replacements become necessary, working with certified metal roofing contractors guarantees that factory warranties remain intact and that proper flashing protocols are followed around roof penetrations.
Roof Checklist:
- Inspect shingles for lifting, cracking, or missing sections.
- Clear organic debris, twigs, and leaves from roof valleys.
- Examine exposed fasteners and rubber grommets for corrosion or degradation.
- Check rubber pipe boots and vent stack flashings for dry rot or cracking.
- Inspect roof edge metal (drip edges) to ensure water drains cleanly into gutters.
2. Chimney Maintenance and Flashing Integrity
Chimneys stand as the highest vertical projections on most homes, catching the full force of wind, rain, and freeze-thaw cycles from every direction. Because they penetrate the roofline, chimney intersections are naturally vulnerable to moisture intrusion if not maintained with extreme care.
A thorough chimney check involves analyzing both the exterior masonry structure and the intricate metal flashings wrapped around its base. Water that enters open masonry pores freezes during winter, expanding and fracturing the brick faces—a destructive phenomenon known as spalling.
Furthermore, the junction where the vertical chimney meets the sloping roof relies on a two-part flashing system: step flashing woven into the shingle layers and counter-flashing embedded directly into the mortar joints. Mortar crumbles, sealant dries out, and metal rusts. Engaging professional chimney services ensures that sweepings remove hazardous creosote buildup while technicians perform structural assessments of your crown, cap, mortar joints, and flashing sealants.
If you notice internal ceiling stains near your fireplace, damp odors in the flue, or crumbling mortar on the roof, addressing these issues swiftly with local roof repairs will prevent water from migrating deeper into your attic framing and ceiling joists.
Chimney Checklist:
- Inspect the concrete chimney crown for surface cracks or missing pieces.
- Verify that a sturdy spark arrestor and flue cap are securely installed.
- Examine mortar joints for crumbling, cracking, or missing mortar.
- Check metal counter-flashing to ensure it is tight against the masonry and sealed.
- Look inside the fireplace hearth for signs of moisture, rust, or damp debris.
3. Siding, Walls, and Building Envelope Care
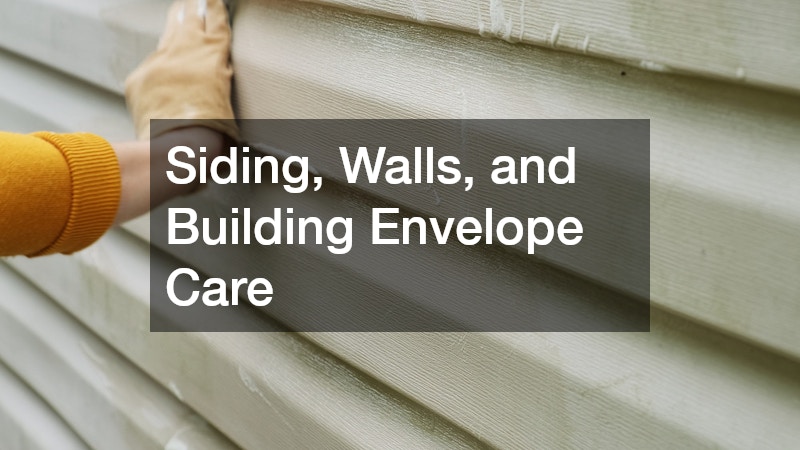
While the roof shields your home from above, your exterior walls protect it from lateral weather assault. Siding acts as a vertical raincoat, deflecting wind-driven rain, sun exposure, and physical impacts while allowing the internal wall assembly to breathe.
Different siding materials require distinct inspection strategies:
- Vinyl Siding: Look for cracked panels, loose locking mechanisms, or warped sections caused by thermal expansion. Ensure weeping holes at the bottom of panels remain clear of dirt and debris.
- Wood Siding: Inspect for peeling paint, soft wood fibers indicative of dry rot, and insect damage. Wood siding must maintain a proper clearance from ground level to avoid wicking moisture from soil.
- Fiber Cement: Check for cracked boards, broken factory edges, or failing sealant at butt joints and window trims.
- Stucco/EIFS: Scan for fine hairline fractures, impact holes, or soft spots that signal moisture trapped behind the synthetic finish coat.
When exterior wall panels suffer structural degradation, storm damage, or extensive rot, hiring a reputable siding company is essential. Proper siding installation requires precise integration with weather-resistive barriers (house wrap) and window flashing tapes. Improperly installed siding can trap water against wall sheathing, causing silent decay behind an apparently healthy exterior.
Siding Checklist:
- Wash vinyl or fiber cement panels annually to remove mold, algae, and atmospheric dirt.
- Inspect wood siding for signs of rot, checking softness with a flathead screwdriver.
- Re-caulk perimeter joints around exterior window and door frames using high-grade elastomeric sealant.
- Maintain a minimum 6-inch clearance between bottom siding edges and ground soil.
- Check trim boards, corner posts, and soffits for swelling, paint failure, or pest activity.
4. Foundation, Drainage, and Basement Waterproofing

Water management does not stop at ground level; in fact, the ground immediately surrounding your foundation is where water causes its most costly damage. Soil absorbs massive volumes of rain. When water accumulates near foundation walls, it exerts intense hydrostatic pressure, pushing liquid directly through microscopic pores in concrete or brick mortar.
Effective water management begins with your gutter and downspout system. Rain gutters must be completely free of leaves, pine needles, and shingle granules to function correctly. A clogged gutter overflows, dumping hundreds of gallons of concentrated water directly alongside your foundation footing during a typical storm.
Downspouts must extend at least five to six feet away from your foundation wall, discharging water onto splash blocks or into subsurface drainage pipes. Furthermore, the grade surrounding your home should slope away from foundation walls at a pitch of at least one inch per foot for the first six feet.
When persistent soil moisture creates basement dampness, efflorescence (white powdery salt deposits on concrete), or wall bowing, consulting a specialized waterproofing company becomes crucial.
Investing in preventive measures and routine roof repairs and maintenance ensures that water is collected and directed far away from your property long before it can reach your basement floor or crawl space.
Foundation & Drainage Checklist:
- Clean gutters and downspouts thoroughly twice per year (spring and autumn).
- Verify downspout extensions push discharge at least 5 to 6 feet from foundation walls.
- Inspect foundation walls externally for horizontal cracks, bulging, or spalling concrete.
- Ensure surrounding soil slopes down and away from the house structure.
- Test interior sump pumps by pouring a bucket of water into the pit to verify float switches engage.
5. Doors, Windows, and Penetration Sealing
Windows and doors break the continuous barrier of your exterior walls, making their perimeter framing highly sensitive to water intrusion and heat loss. Every window sill, door threshold, and utility opening represents a seam that must be perfectly sealed against nature.
Start by inspecting window frames for signs of moisture distress. On wooden frames, check lower corners where water collects; soft, decaying wood indicates that water is bypassing external glazing or paint seals. Examine glass double-pane units for internal fogging or condensation, which confirms that the factory edge seal has failed, eliminating the window’s insulating properties.
Door thresholds endure heavy foot traffic and physical impact, which can break the perimeter seal along the floor joint. Inspect weatherstripping around exterior entry doors, garage doors, and sliding patio doors. Worn weatherstripping allows rain to blow under door assemblies during high-wind events, damaging subflooring and finish flooring inside.
Additionally, walk the complete perimeter of your home to inspect all utility wall penetrations:
- Dryer vents and HVAC line sets
- Electrical conduit entry points
- Gas piping and exterior hose bibs (sillcocks)
- Exterior light fixtures and outlet boxes
Windows & Doors Checklist:
- Inspect weatherstripping along door perimeters and replace brittle or torn gaskets.
- Examine window frame corners and sills for moisture, softness, or paint lifting.
- Check window perimeter caulk bead for gaps, shrinkage, or pulling away from siding.
- Verify that window weep holes along lower metal or vinyl frames are free from dirt blockage.
- Re-seal utility wall penetrations with durable exterior polyurethane sealant.
6. Seasonal Maintenance Schedule
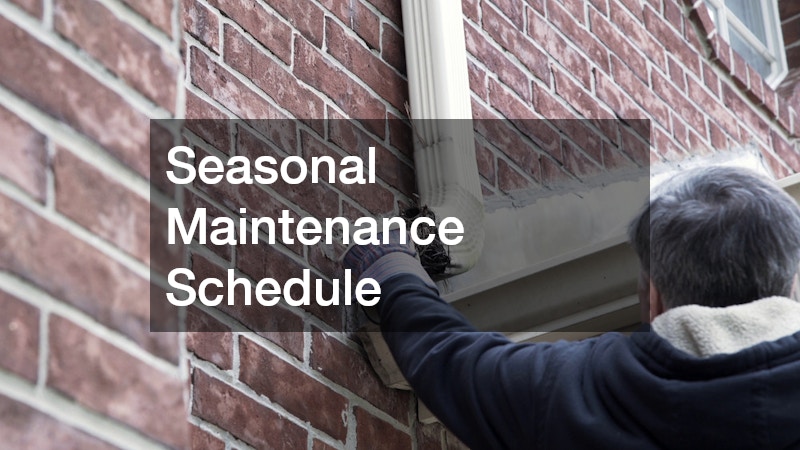
To keep your home in top shape without feeling overwhelmed, break maintenance tasks into manageable seasonal routines:
Spring (Post-Winter Recovery & Rain Prep)
- Clean out all gutters and clear roof valleys of accumulated winter debris.
- Inspect roof shingles and metal panels for ice dam damage or wind lifting.
- Check foundation drainage slope and ensure downspouts direct water away from the footings.
- Inspect window frame caulking and re-seal any gaps created by low temperatures.
Summer (Sun Exposure & Exterior Upgrades)
- Wash vinyl, aluminum, or fiber cement siding to remove dirt, mold, and algae.
- Paint or stain exposed wood surfaces to protect them from UV degradation.
- Inspect chimney brickwork and repoint damaged mortar joints.
- Repair exterior decks, porch supports, and masonry joints.
Autumn (Winterization & Leaf Management)
- Clear fallen leaves and pine needles from roof gutters, downspouts, and drains.
- Schedule professional chimney sweeping and flue inspections.
- Disconnect and drain outdoor garden hoses; shut off interior supply valves to hose bibs.
- Store or cover outdoor furniture and vulnerable exterior equipment.
Winter (Freeze Protection & Storm Monitoring)
- Monitor roof edges and gutters regularly for heavy snow build-up and ice dam formation.
- Inspect attic space internally for signs of leaks, condensation, or wet insulation.
- Ensure drainage pathways at ground level stay clear of heavy snow accumulation.
- Check weatherstripping around doors after major freeze events.
Establishing a relationship with an established residential roofing company can streamline this seasonal upkeep. Annual or bi-annual professional inspections catch microscopic material defects before storm season turns minor vulnerabilities into full-blown emergencies.
Should severe weather strike—bringing hail, falling tree limbs, or high winds—contracting professional remodeling contractors allows you to restore damaged exterior structures, upgrade outdated material assemblies, and modernize your home’s exterior protection in one unified project.
7. Emergency Protocols and Post-Storm Inspection
Even with meticulous preventive care, violent severe weather can cause immediate physical damage to your building envelope. Knowing how to safely inspect your property following a storm limits secondary water damage.
Once high winds, hail, or heavy snow events pass and it is safe to venture outside, perform a ground-level walkaround of your property. Always prioritize safety first by checking for downed power lines before approaching your home’s perimeter.
Scan your roof from the ground for missing shingles or dislodged metal panels, and look for fallen debris or heavy granule accumulation around downspouts. Inspect gutters to ensure they haven’t detached under the weight of rain or debris, and scan siding for impact cracks or broken window panes.
Next, conduct an internal attic and ceiling check. Look for any daylight showing through roof boards, inspect insulation for damp spots, and check interior ceiling drywall for fresh water stains or discoloration.
If you discover active water entering your living space, take immediate action:
- Protect Interior Belongings: Move furniture, electronics, and valuables away from the drip zone. Place heavy-duty buckets or plastic tubs beneath active leaks.
- Relieve Ceiling Pressure: If water is pooling behind ceiling drywall and creating a sagging bubble, carefully poke a small hole in the center of the bubble using a screwdriver to drain the water into a bucket, preventing a large drywall collapse.
- Contain the Source: If safe to access, place a temporary tarp over exposed exterior roof sections or cover broken windows with plywood.
- Document Everything: Take clear, well-lit photographs and videos of all exterior damage, active interior leaks, and ruined personal property for insurance processing.
When storm damage causes water to saturate structural subflooring, wall cavities, or finished basements, rapid professional water damage repair is vital.
Post-Storm Inspection Checklist:
- Perform a ground-level visual sweep for missing shingles, bent metal panels, or broken tiles.
- Check downspouts for severe dents, loose mounting brackets, or blockages.
- Inspect attic space internally for wet insulation, damp rafters, or daylight penetration.
- Verify that exterior light fixtures, vent covers, and chimney caps remain securely attached.
- Document any structural damage with photo evidence prior to beginning cleanup efforts.
8. Financial and Structural Benefits of Proactive Care
Treating exterior home maintenance as a continuous investment rather than an unwelcome expense yields substantial financial rewards over time. The economic case for proactive home care is compelling:
- Extended Material Lifespan: Regular cleaning, localized caulking, and swift repairs can double the operational lifespan of roofing, siding, and deck materials, delaying tens of thousands of dollars in premature replacement costs.
- Energy Savings: A fully weather-sealed building envelope prevents thermal bridging and air leakage. Sealing wall penetrations, maintaining window gaskets, and insulating attics keep conditioned air inside, lowering monthly utility costs.
- Insurance Protections: Homeowners insurance policies cover sudden, accidental storm events, but they routinely deny claims stemming from gradual neglect, deferred maintenance, or long-term water seepage. Keeping detailed records of regular home inspections and professional repairs proves diligent home care if you ever need to file a claim.
- Preserved Property Equity: Unaddressed water damage quietly undermines structural wall framing, rots floor joists, and ruins foundations. Protecting your home’s core framing maintains its structural integrity and resale value.
By turning this checklist into an annual routine, you protect your home against the worst weather while keeping your living spaces dry, comfortable, and efficient for decades to come.